Tina Brocklebank Make-up artist.

The products convincing my skin it's Spring.

Spring has finally arrived, which means three things: the daffodils are out, my dogs are tracking mud through my house and my skin is emerging from winter looking like its just completed a long, emotionally challenging hibernation.

I always crave simplicity, with makeup and life in general!...Every year I tell myself I'll try and glide into Spring looking and feeling fresher, like one of those women on the skincare ads who splash water on their faces in slow motion. In reality, I am usually still clutching my Facial oil like a security blanket while my skin tries to remember how daylight works.

But Spring is the season of hope and optimism, and lighter layers, for both clothes and skincare.

I love focusing on my wellbeing behind the scenes, protecting my energy, building more gentle routines and being more mindful about what I put on my skin, (and what I expect from myself).

Here's what I've actually been doing and the products I keep reaching for, the ones that have rescued my face from winter and gently persuading it to look a bit more alive.

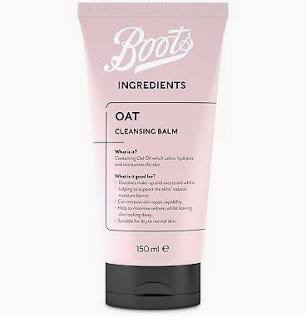
SKIN: The "Please wake up my skin" cleanser -

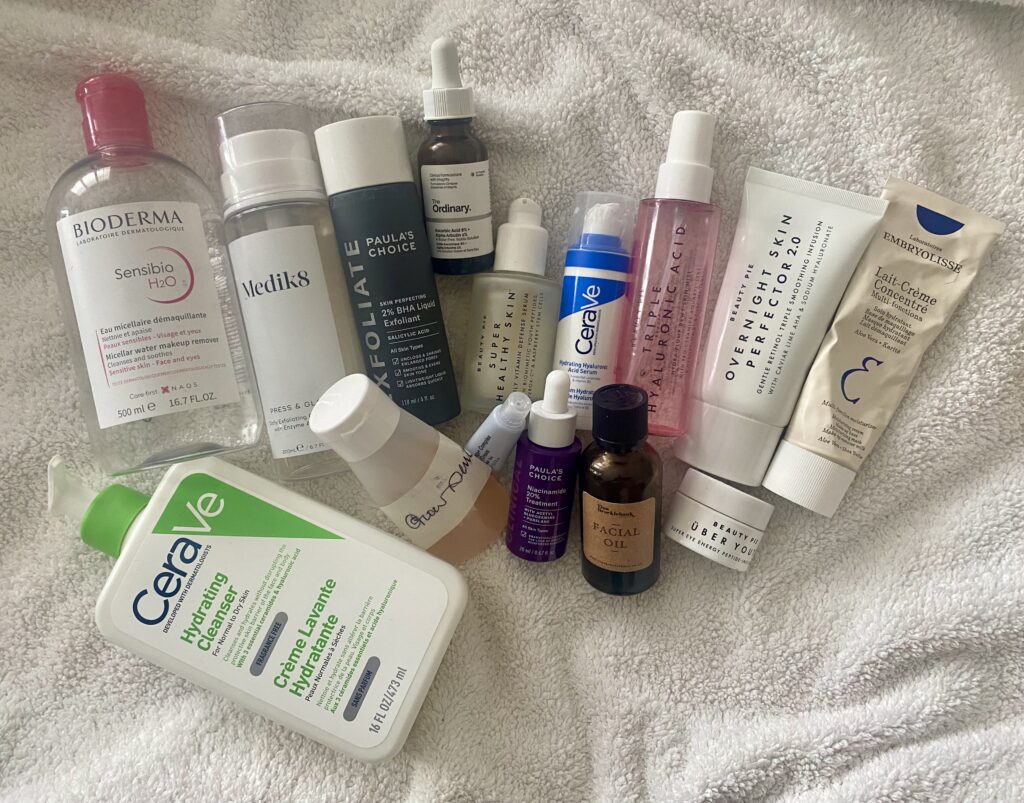
Right now I am loving Boots Oat Cleansing balm, (£9.90). It contains oat oil to soothe, hydrate and moisturise my skin and it also supports the skin barrier. It helps my skin look lovely and dewy. It is also 100% vegan. I use it with a white microfibre cloth and I find this very gentle for eye makeup removal too. It doesn't leave your skin feeling like you have washed it with soap or washing up liquid. The goal is clean, not squeaky. If your face feels like a dinner plate afterwards, you have gone too far.

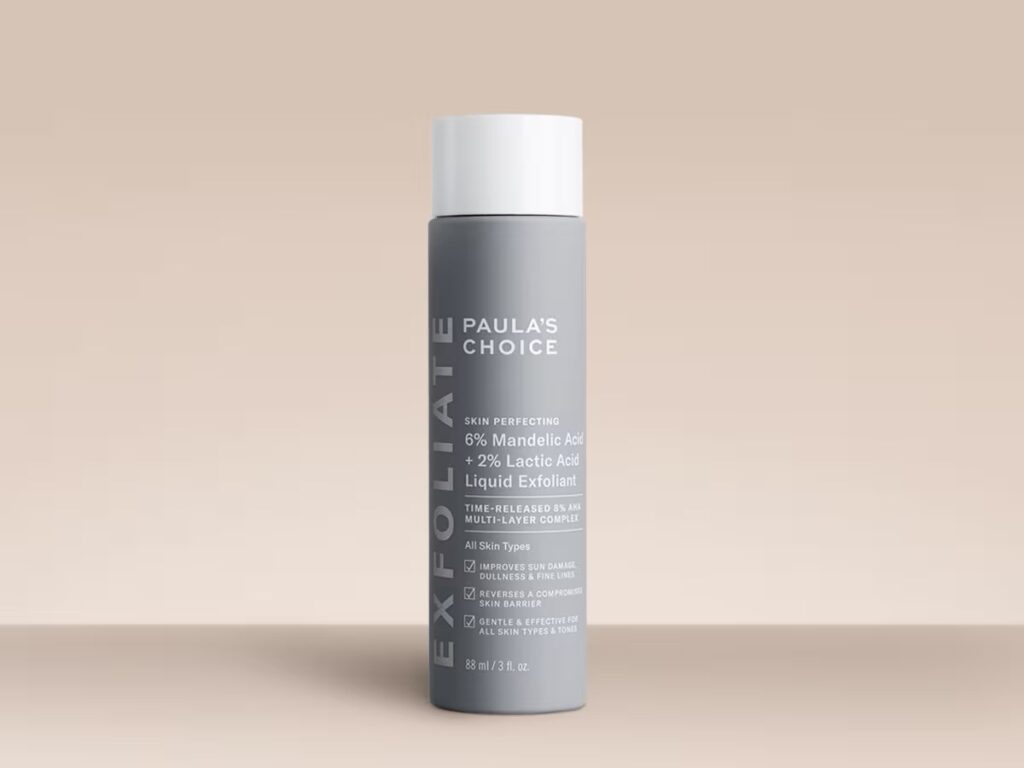
Toner - the "Please polish my skin" product -

I used to just splash my face with cold water after cleansing, which is fine if you have young and smooth skin, but as I have got older my skin deserves and needs more time and care. I love using acids, they sound brutal but in fact, they are very gentle and one of the best things we can do for our skin. I love Paula's choice 2 % BHA Liquid exfoliant and I also alternate this by using a Paula's choice 6% Mandelic acid and 2% Lactic acid, AHA Liquid exfoliant, (£29.75 - 88ml). This gently tones and exfoliates, I can use it twice a day. Mandelic acid is the gentlest AHA and Lactic acid is derived from milk, (or lab made). It also helps with fine lines and discolouration. The BHA I use if my skin decides to have a little breakout or if I wanted to go a bit more intensive with exfoliation. I can always see the difference after using an acid, so I highly recommend this step.

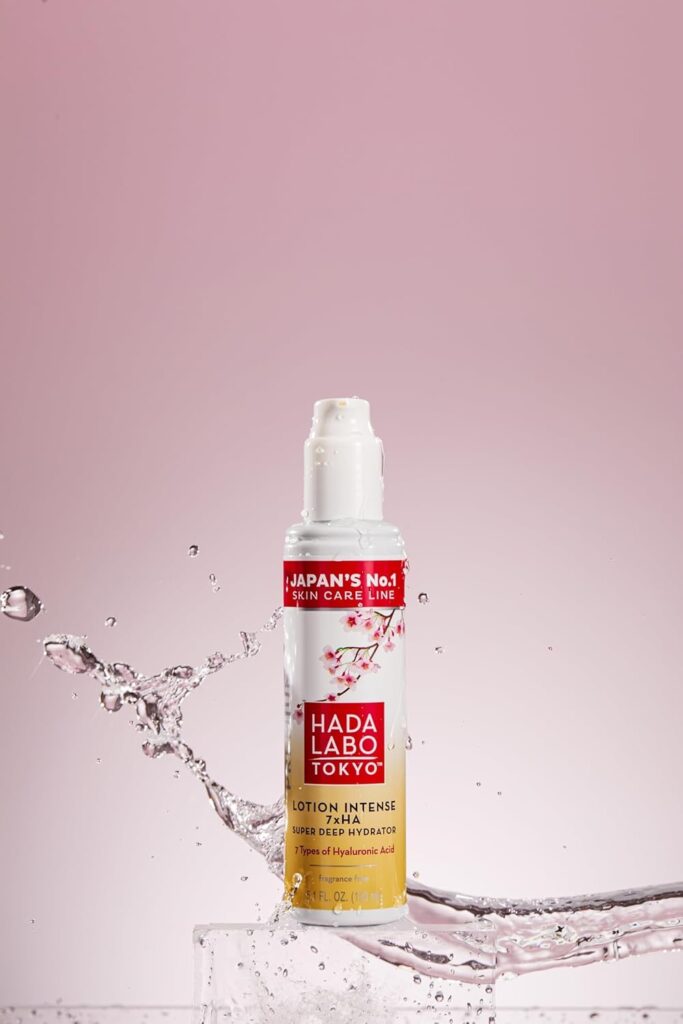
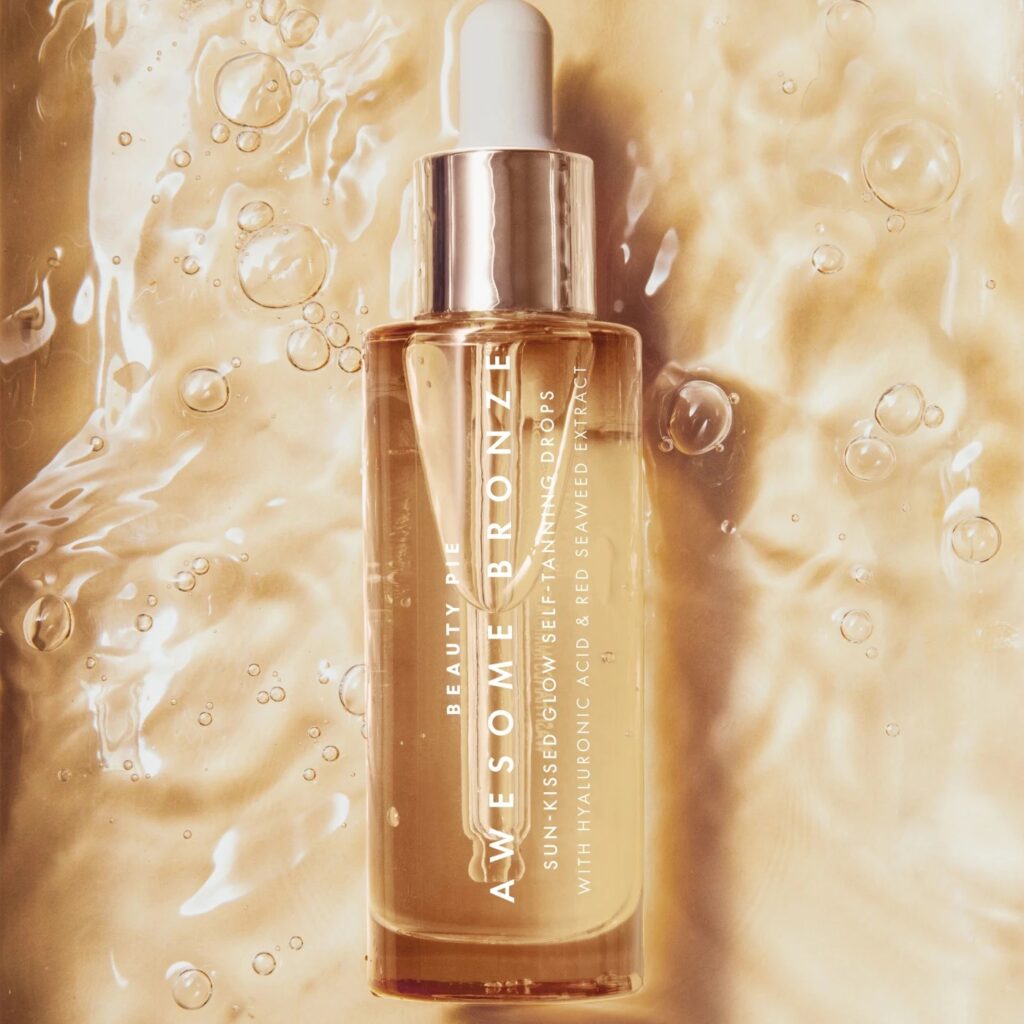
Next come serums (Hydration hero) - Hado Labo Super Hydrator lotion, (£18.99 from good old Superdrug, 150ml) - is a light lotion that absorbs easily and has 7 types of Hyaluronic acid in so helps to retain moisture in the skin, (I sometimes mix a few Beauty Pie Bronzing drops into this too and TOP TIP - also use the serum as an eye cream before makeup, to really boost hydration). Think of it as a tall glass of water for your face.

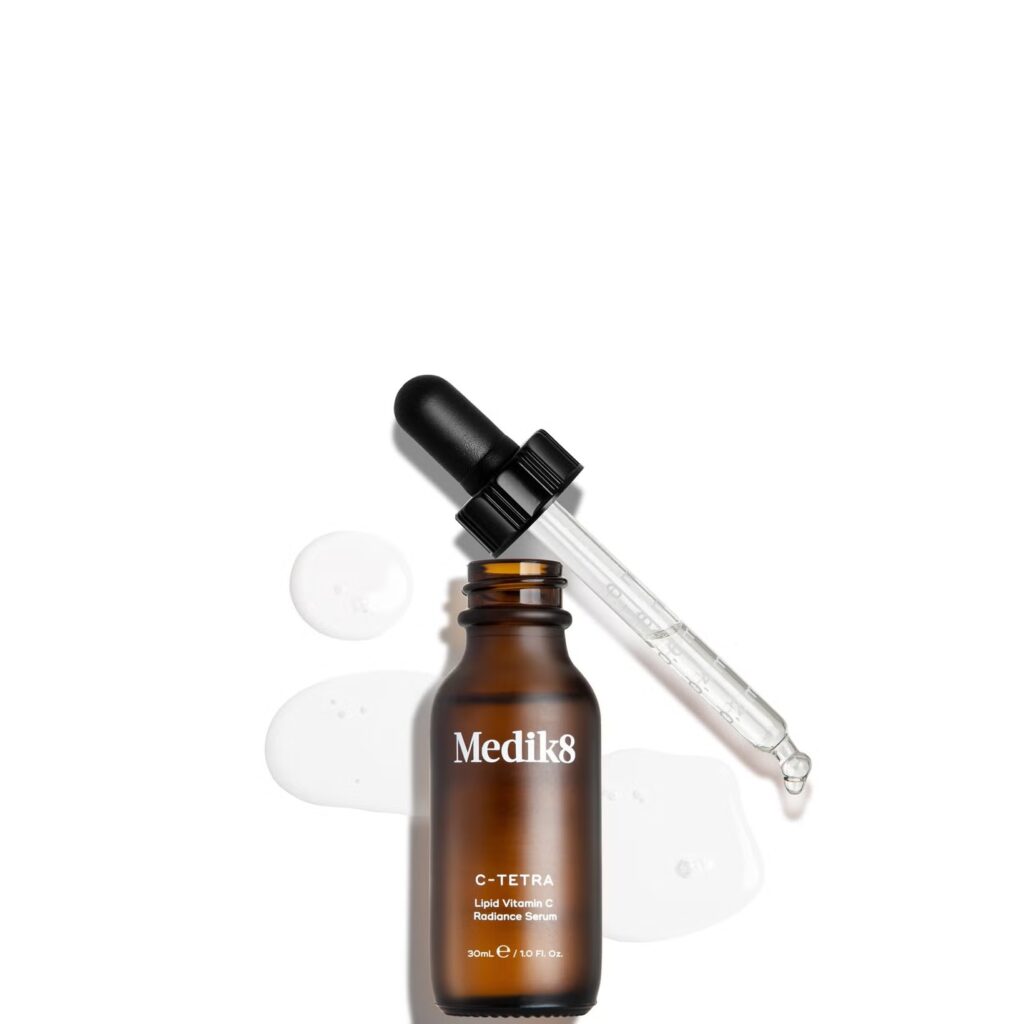
Next I sometimes layer the Medik8 C-Tetra Vitamin C serum, (£45, 30 ml). This helps to brighten my skin and helps with any pigmentation. Great for sensitive skin and also has jojoba seed oil in to nourish, so a lovely texture too.

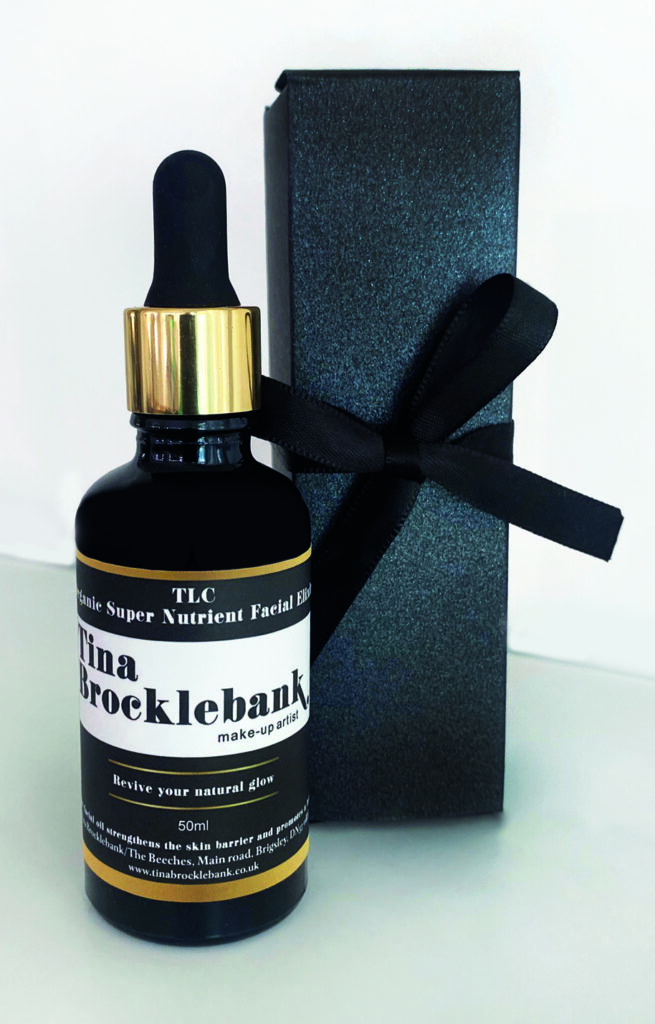
My TLC Organic Super Nutrient Facial elixir, (£35, 50ml). Perfect for nourishing, calming, restoring and feels luxurious. I use this morning and evening. After the lengthy process of registering this product and having it professionally tested, I realise how important natural oils are for our skin. It isn't greasy but sinks into skin beautifully giving a lovely glow.

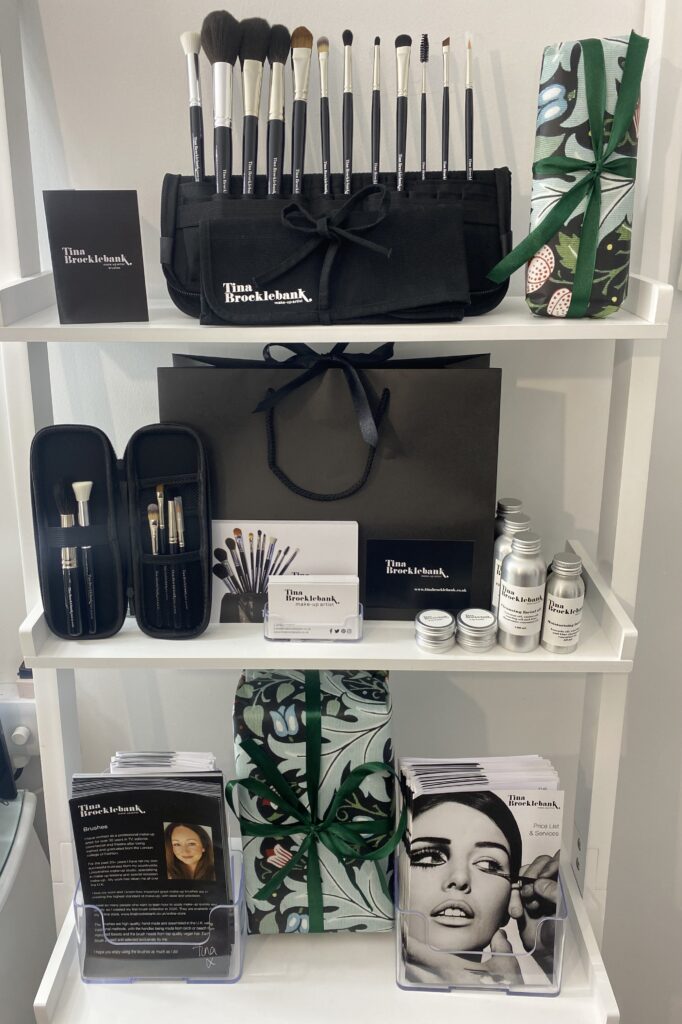
Available exclusively via my Online store https://tinabrocklebank.co.uk/online-store/ or in studio.

I always finish off my skincare with SPF, my current favourite is from Cerave -

I love yoga as it helps me to be present and I love doing my skincare for this reason too! What I am not doing?...layering five actives, over-exfoliating (or chasing perfection! I am doing it all for myself, no-one else).

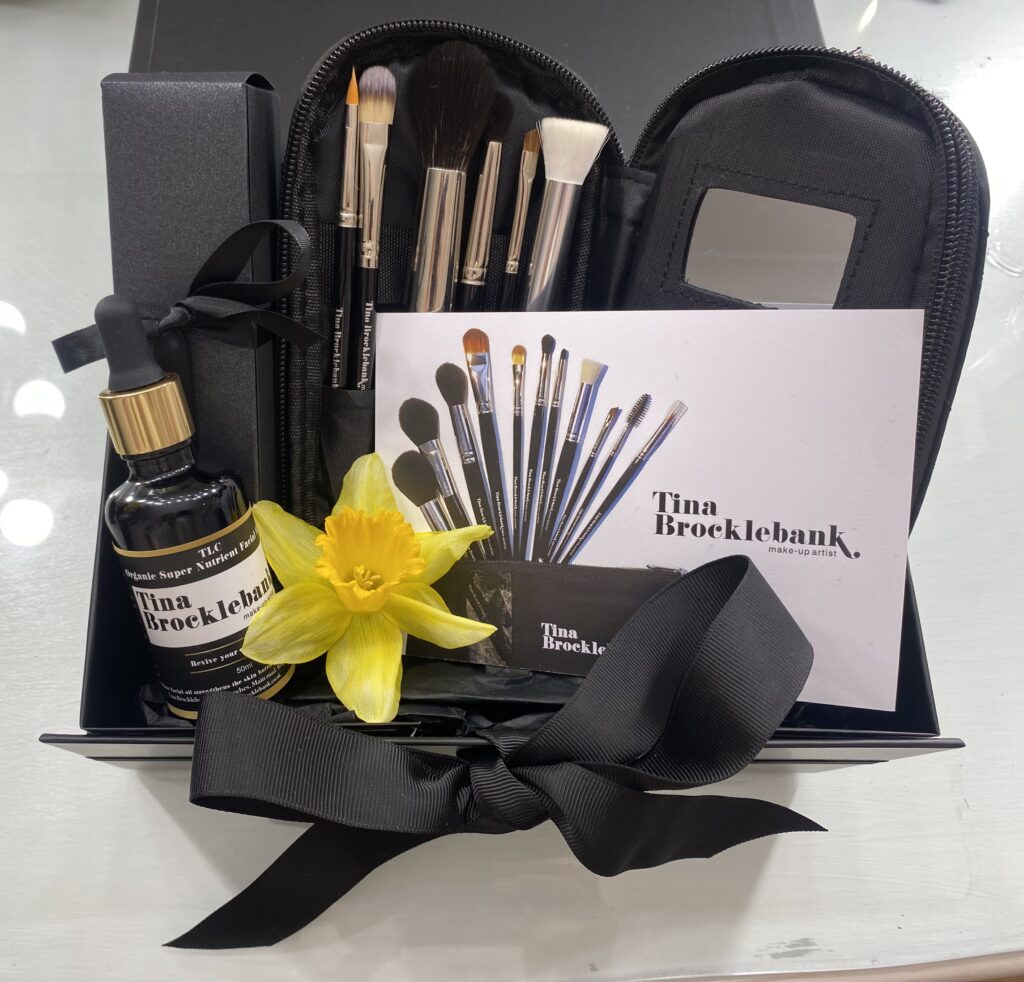
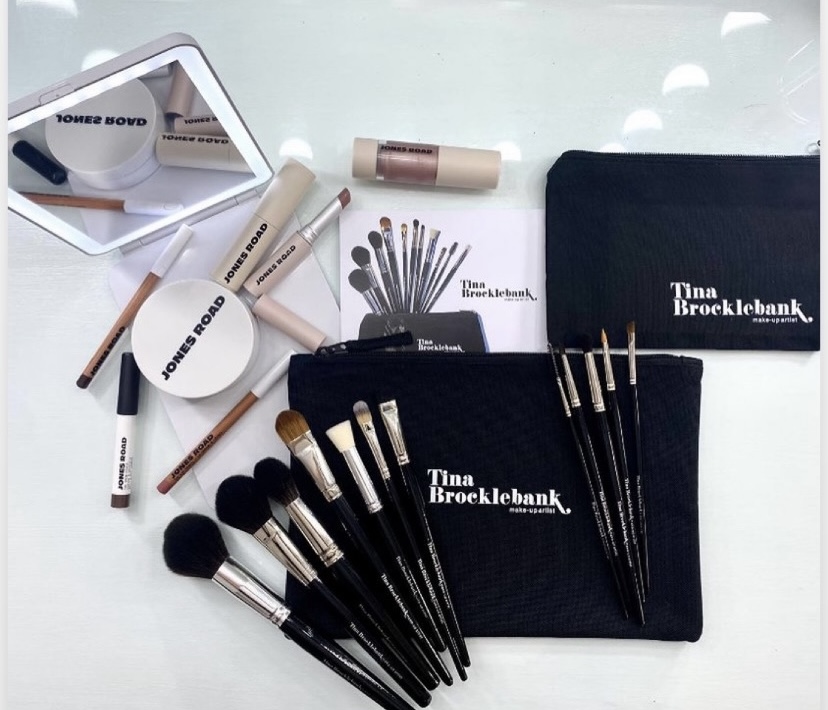
LIMITED EDITION! - I have made up a limited amount of these new Gift box sets. Above, my Organic TLC Facial oil and New Travel set with double layer makeup case = £125, (Gift voucher optional, for a Makeup lesson or Special occasion makeup.) A gorgeous gift for yourself or a loved one.

Email me to purchase - tina@tinabrocklebank.co.uk
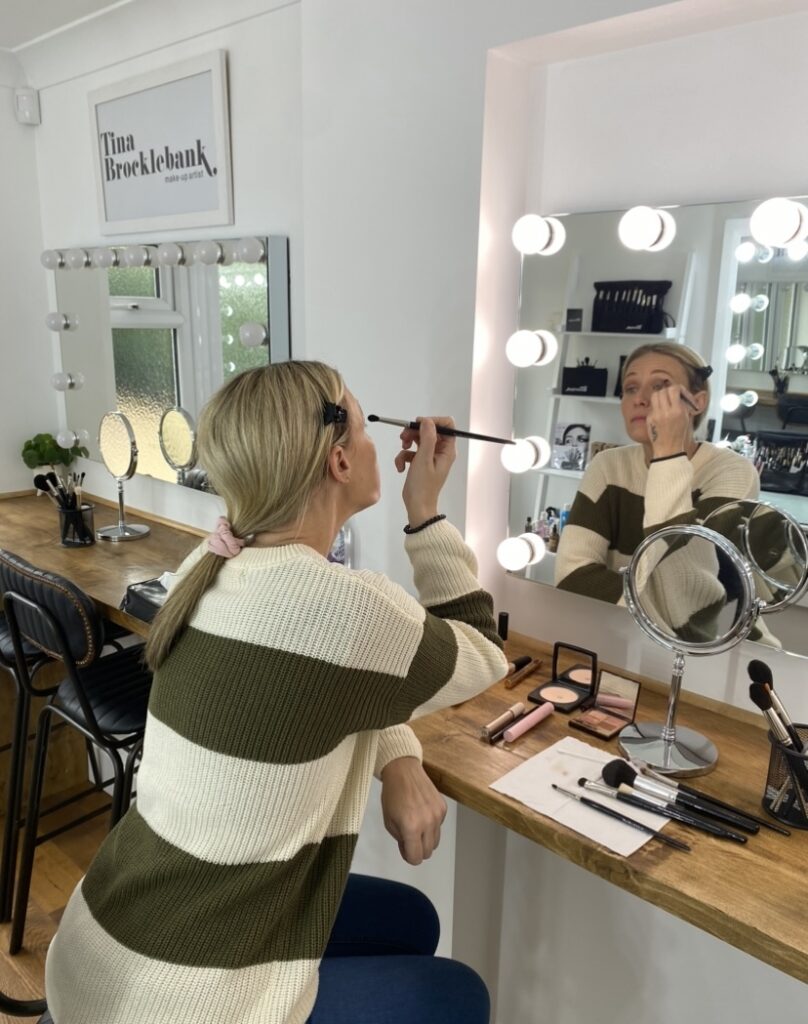
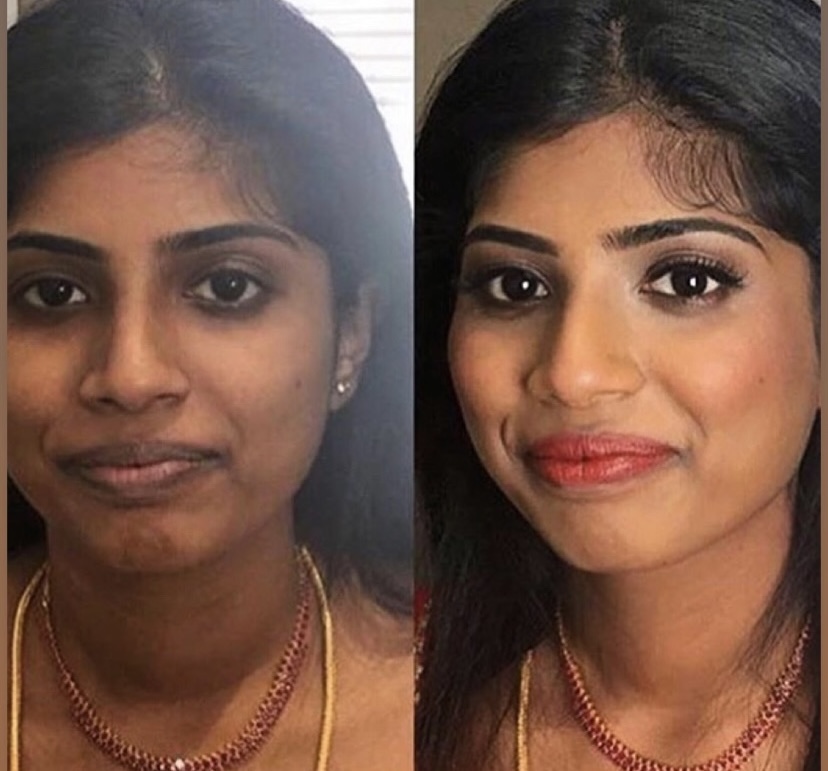
MAKEUP:

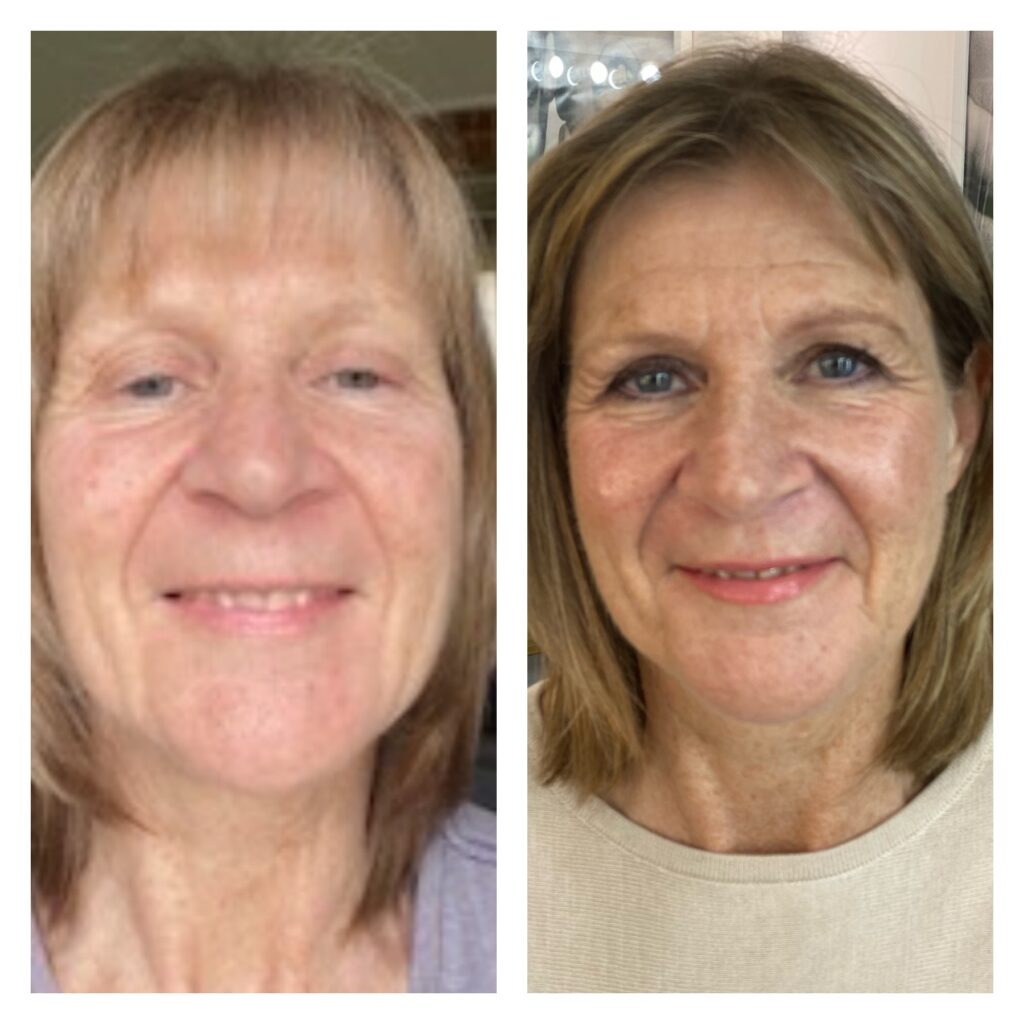
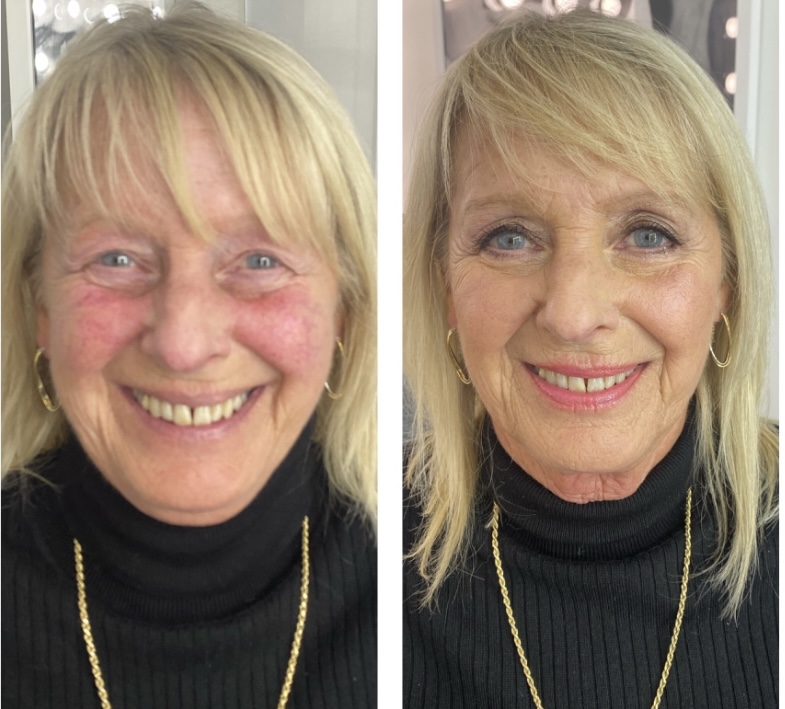
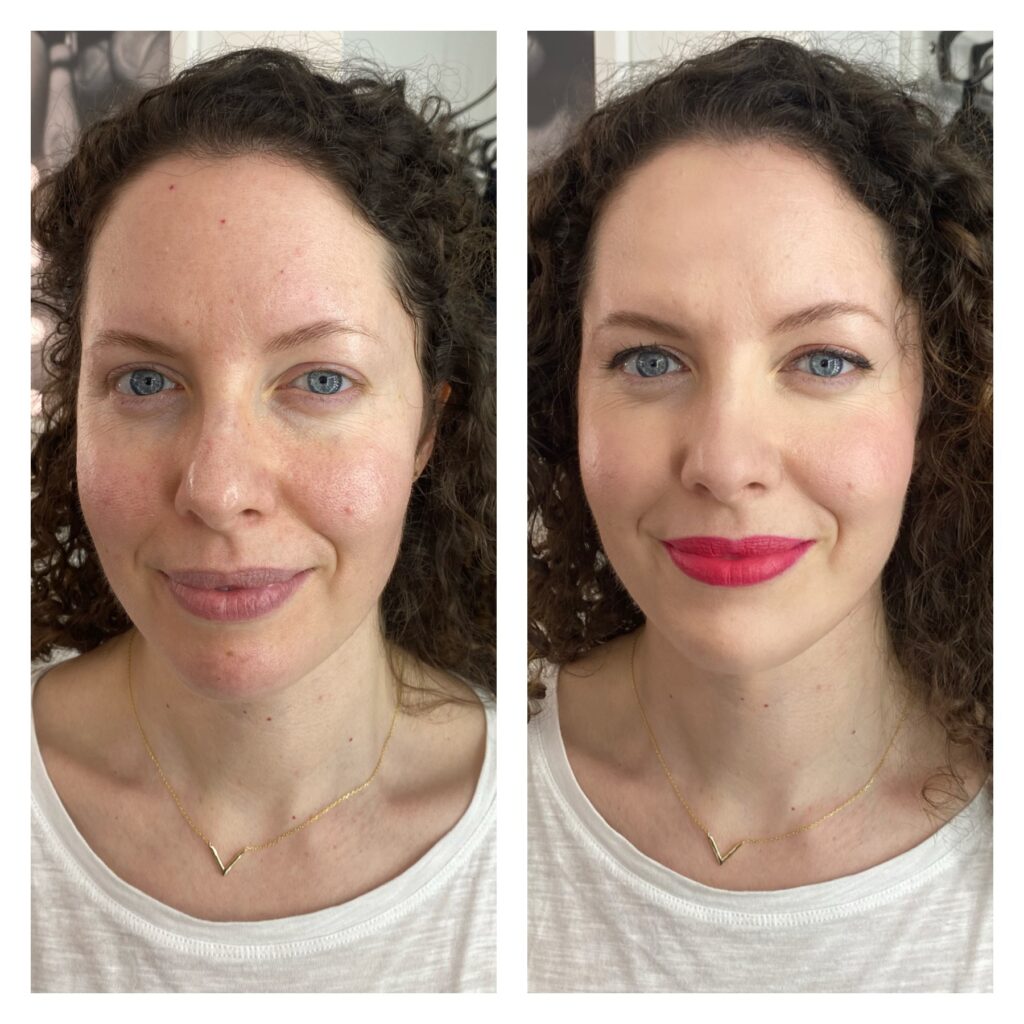
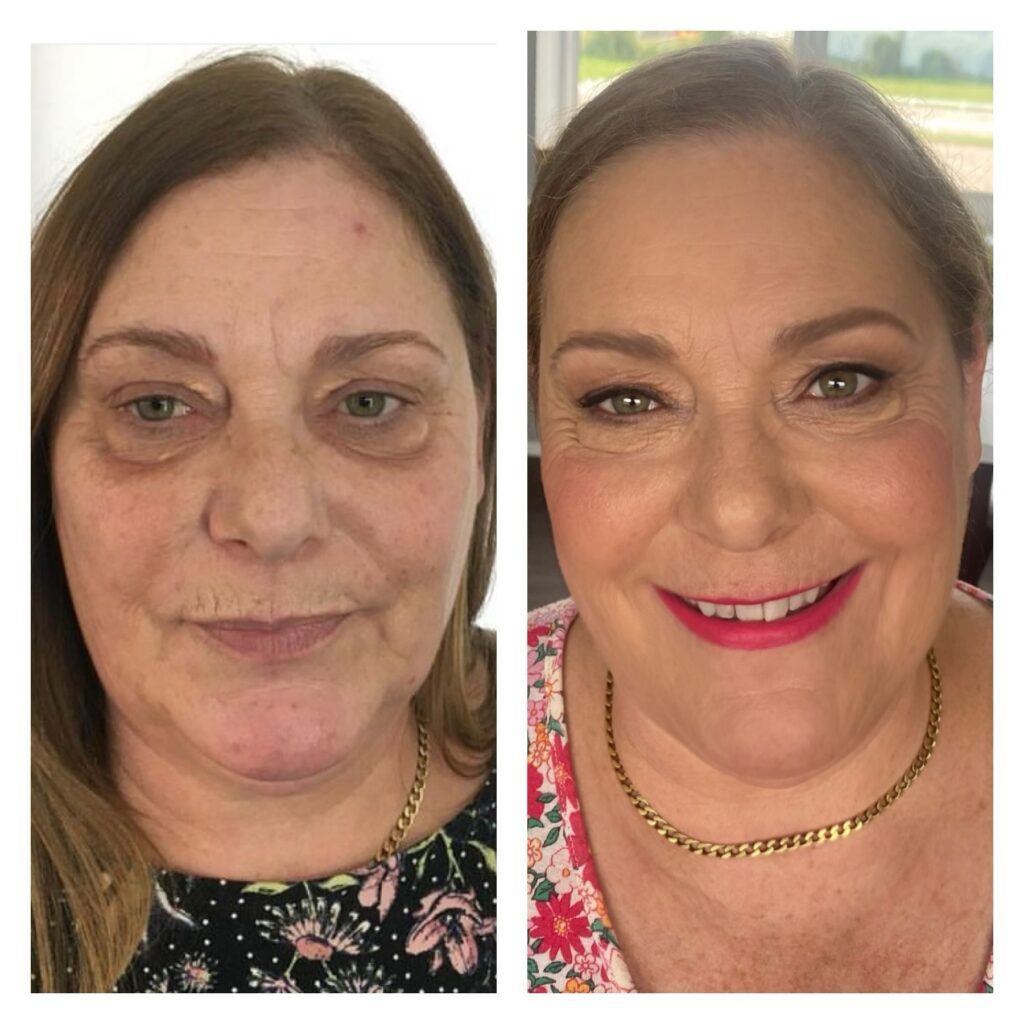
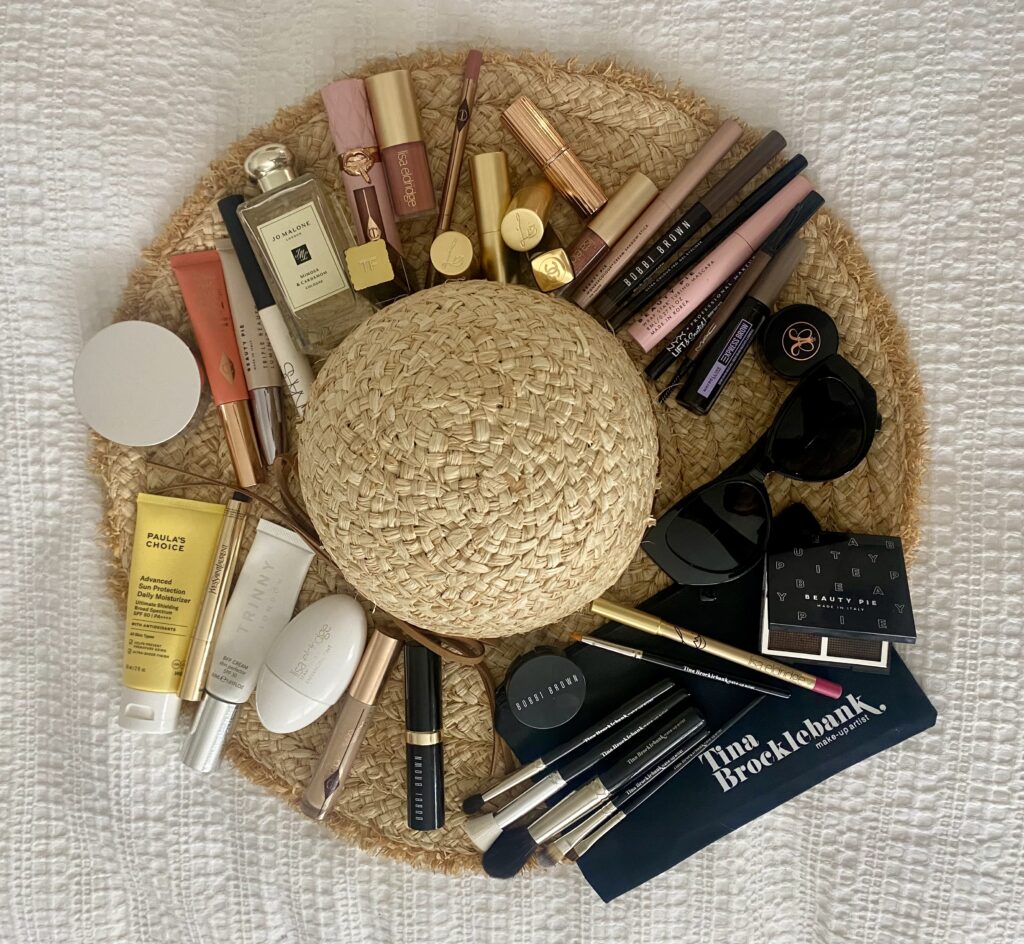
You know my approach to makeup is less is more, and I will always lean into that. Skin always needs to look like skin, not matte, flat or dull. Less powder, more cream textures and strategic glow...and never underestimate the power of a bright lipstick at this time of the year, when some days can be a bit grey and dull. This one below is from Lisa Eldridge, (£27 - Skyscraper rose) - https://www.lisaeldridge.com/products/skyscraper-rose-insanely-saturated-lip-colour

Tina Brocklebank Make-up artist.
My current makeup favourites, (above)

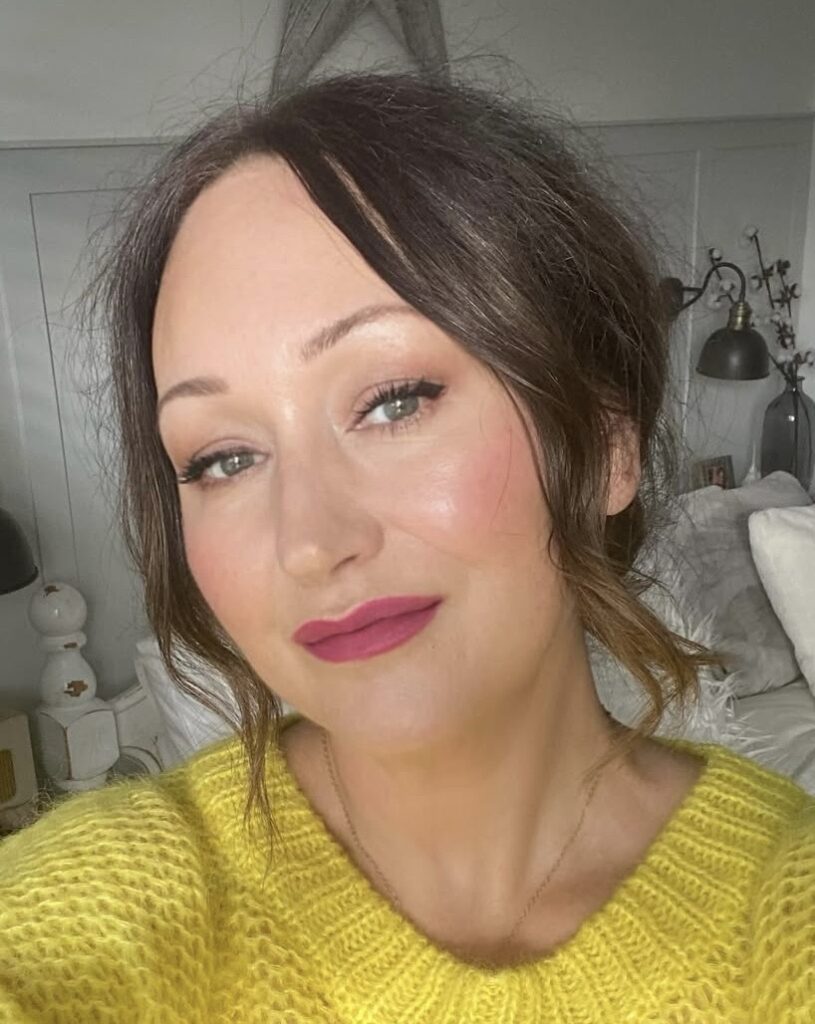
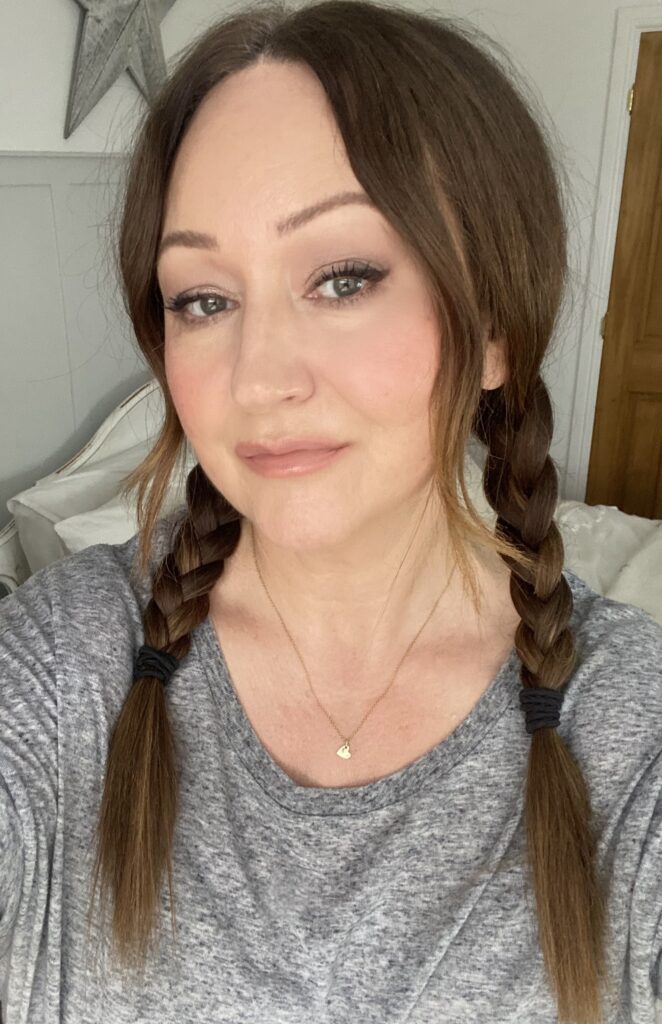
Spring makeup should feel easy. Fresh skin, a bit of glow and the general impression that you woke up looking like this, (even though several products were used!) Spring beauty isn't about reinventing everything, to me its about lightening up and adding a bit of warmth and glow.

My current five-minute face looks like this - A skin serum tint to even things out and a creamy highlighter to add a slightly smug, subtle glow. Not the disco-ball variety - I'm talking about the kind that makes people say, "Your skin looks good" instead of "Why is your cheekbone reflecting sunlight into my eyes?"

A creamy concealer that erases the evidence of being a bit on the knackered side.

A cream blush for that "I just came in from a brisk Spring walk" effect.

Mascara, eyeshadow and liner because without it, I look like I have misplaced my eyes.

A liquid lipstick and brightening gloss that makes me look and feel so much better. DONE.

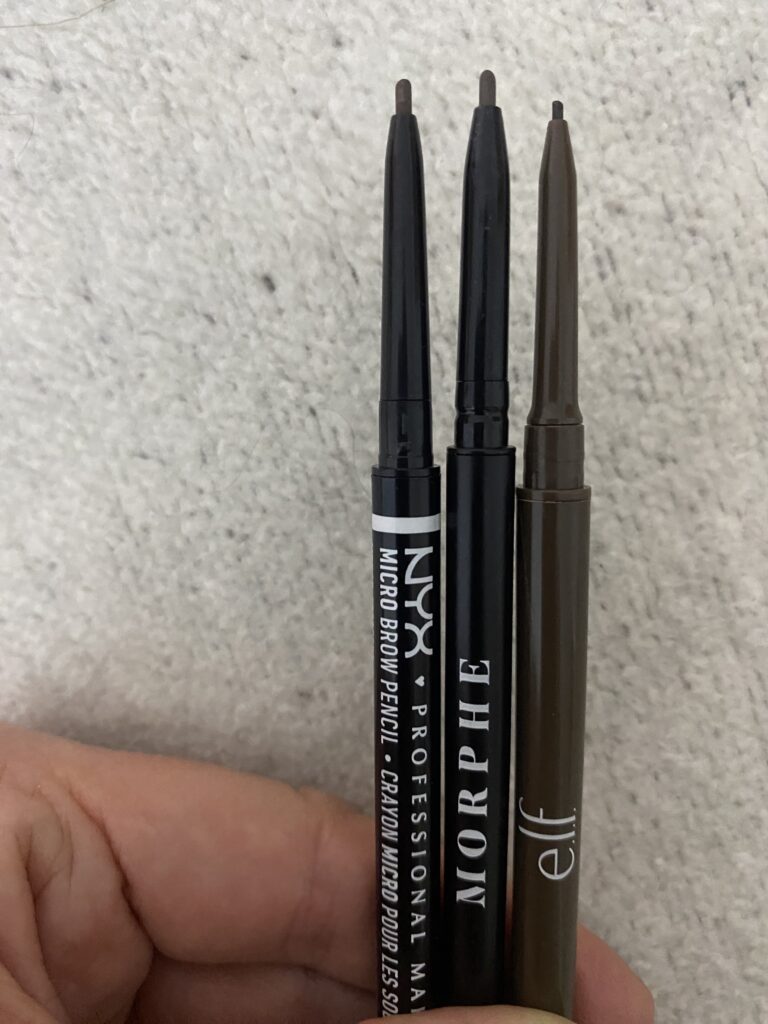
Trinny London Mustique Trinity Lip, cheek and eye stick. Beauty Pie Super luminous under eye genius. Trinny London Miracle Blur. Huda Beauty Faux Filter concealer. Lancome Skin Idole Serum foundation. YSL Touche eclait. L'Oreal Lumin Le Glass stick. Jones Road Beauty Facial shimmer oil. NYX Warm neutrals eyeshadow palette. Kat Von D Tattoo eyeliner pen. Beauty Pie Pro liner in Turkish coffee. L'Oreal, Panorama mascara. Ciate Dewy blush. MAC Locked Kiss liquid lipstick in Mischief, and MAC lip pencil in Cool spice. Beauty Pie Wonder gloss collagen lip oil in Nude nectar. (Brows - I am loving the ELF brow pencils, they seem to be superior to anything else I have tried, and I have tried so many!!).

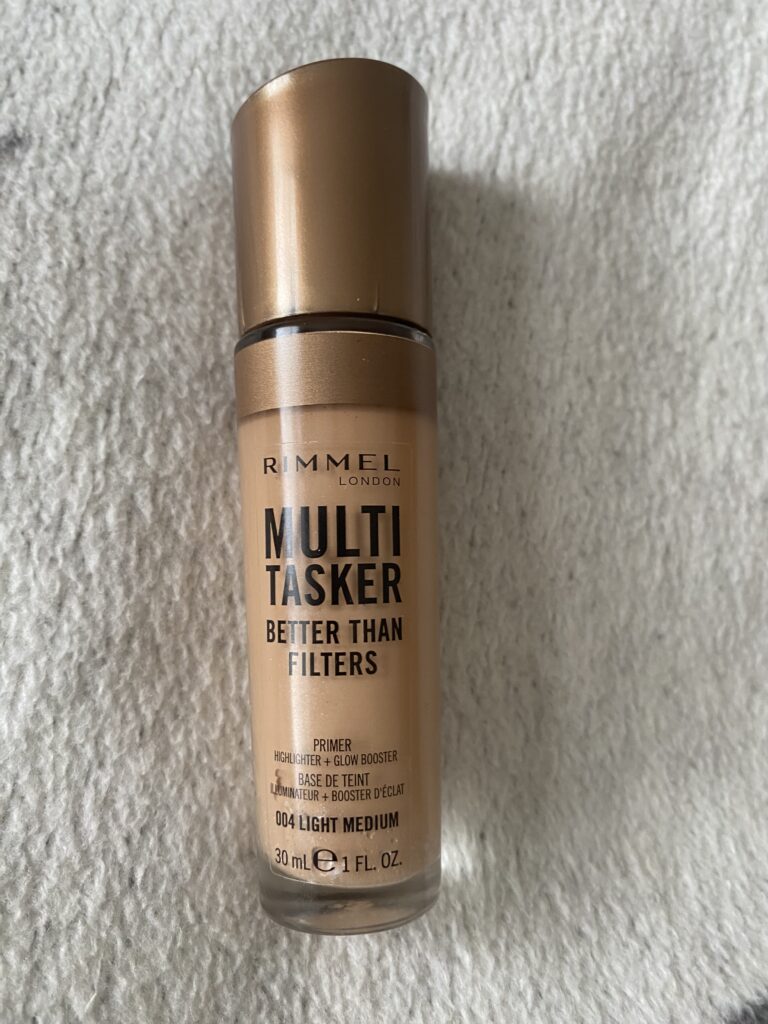
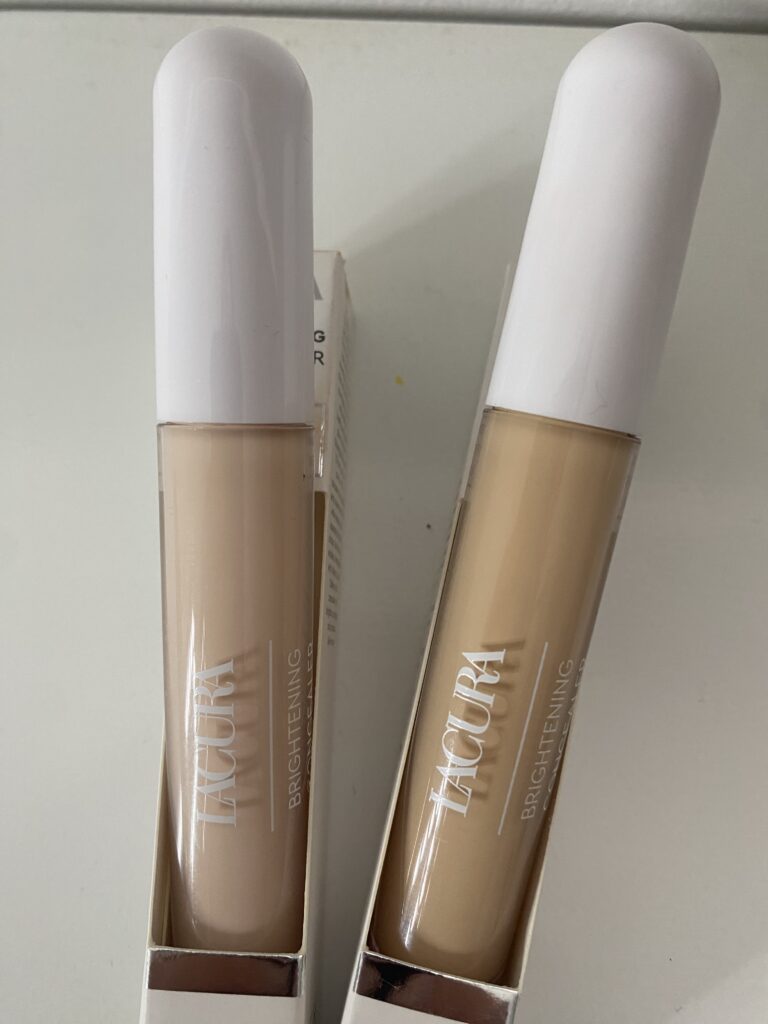
TOP TIP - Get yourself to Aldi, there are some great makeup dupes in there! I love their brightening concealers! I am also loving the RIMMEL Multi Tasker - it gives my skin that lovely glow, if I am feeling (and looking) a bit crap...

Tina Brocklebank Make-up artist.

The bigger picture - What's changed most isn't the products - it's my mindset. I am not trying to look 30, I am not trying to fix every line, I am not chasing every overpriced launch. I am choosing what works for me, editing ruthlessly and prioritising how I feel...and that has transformed everything. If you are feeling a similar pull towards simplicity, let this be your permission slip, you don't need more, you need better.

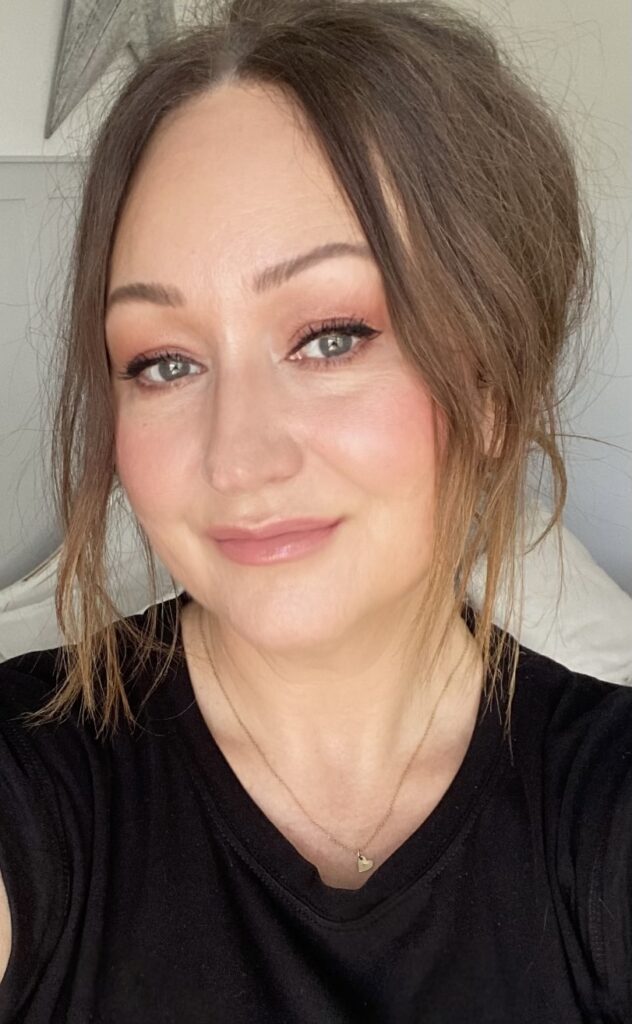
Of course, none of these products can guarantee perfect Spring skin. There are still mornings when my face looks like it didn't get the memo about glow and radiance, but with a bit of TLC, definition and a pop of colour I can usually fake it convincingly, (but if all else fails, there are always sunglasses). Also, let's remind ourselves that getting the lighting bang on and a good camera angle for any selfies is key too. Sometimes the secret to glowing skin is great skincare...and occasionally standing near a window. You can't beat natural daylight. I will never be one of those women who are effortlessly glowing...I do have to invest time and effort into myself. Either way, I am calling it Spring glow and nobody needs to know how much concealer was involved.

So, thats my Spring beauty line-up: nourishing skincare, fresher and lighter makeup and a determined attempt to look like I've spent the Winter somewhere sunny instead of under a blanket.

I'd love to know what you are using (and loving) right now. I am always testing, but the recommendations from this community are often the best ones. Thank you for subscribing and reading my blog. I would love to hear from you! email me tina@tinabrocklebank.co.uk

With love, Tina x

Quote by Rae Morris.

Tina Brocklebank Make-up artist.

A Christmas catch up!

Hello!...I last updated my blog in April and with the New Year approaching I wanted to touch in with you. It's been a busy old year, I hope you are doing ok and making time for yourself, (using a little bit of makeup magic to help you get through this crazy season too?!)

This year as you may know, I have been focusing more on my studio work, so lots of Make-up lessons, (1-1 and Joint makeup lessons), Special occasion make-up, Online lessons and Make-up artist training workshops. I have really enjoyed spending more time in my studio, and not lugging around lots of kit and my chair! I have had some great feedback from my new lessons too, so I am really encouraged by this. This was necessary for me as I have been offering a mobile service for the past 20 odd years, and all of the extremely early starts, huge amounts of kit and large wedding parties and travel has kind of taken its toll! (although I do still work on select weddings now and again).

See below photos of my studio, all set up ready for a Joint makeup lesson. The top one shows the clients area, where I have already selected a few products prior to the clients arriving, (as I send out a Questionnaire so I can cater the lesson for each individual). I've loved helping so many clients this year with their makeup dilemmas and I look forward to doing the same in 2025 (and beyond) too!...

Joint makeup lesson, (Mum),

Joint Make-up lesson, (daughter).

Tina Brocklebank Makeup artist, review

I love my work, and to me, it's so important to pass on my knowledge and try and help other people to feel good about themselves, using the right tools, techniques and products, without all of the hard sell and hype that we so often are faced with online and everywhere these days.

I've been trying to lessen my time on social media recently, (I find deleting the apps very helpful and just adding them back on now and again, when I want to post something). I really want to focus more on my website, but I know how "normal" social media is nowadays but I do struggle hugely with it, as I am naturally, happily introverted. I have been so much happier and more productive without it. I have even been learning French!, (via the Duolingo app). I also love listening to podcasts, ( I love Matt Willis' On the mend podcast, he has some great guests on and it's all very interesting and inspirational). I also love listening to books via Spotify, (I especially enjoyed the Ru Paul autobiography). I really want to get back to my Art too, as the last time I picked up my paint brushes was April...but it excites me to think I have it to look forward to over Winter. This is my latest piece...

As-well as reducing things that don't make me particularly happy, I have been concentrating on the things that do make me happy, like exercise, (I love spinning and weights), gardening, walking with my dogs, reading and cooking! I have cut alcohol out of my life now, and I feel so much better for it. I won't say I am tee-total, but I do not drink at home now and if I go out I will just have 1 drink, it's definitely about being more mindful. Alcohol has no benefits, (despite what the media tells us, especially at this time of the year.)

For me, part of my self-care routine not only includes all of the above, HRT and skincare but makeup too. It brings me so much JOY!!! It is so important to me. It is not a vanity thing as such, although yes, it does make me look better, but I think the benefits to mental health are far higher than aesthetic benefits, but it does go hand in hand definitely. If you look good, you feel good, and I do it for me, no-one else, (my Mum was my biggest inspiration - she always put her makeup on every day, come rain or shine, whether she was leaving the house or not). I find the whole process very therapeutic and meditative. Having these routines in our lives, (whether that be makeup, or exercise or whatever works for you), is fundamental to our well-being. I miss her terribly and my lovely Dad.

This is exactly why I love passing on these skills and encouraging this daily practice, sharing my passion with my clients. Passion is something we do for ourselves, it makes us feel good. Purpose is something we do for others, it excites us and motivates us. I love the positive impact my work has on my clients and in turn, my passion is gifted with my purpose!

I am also very excited about my Brush collections and have had so many clients use them, again, giving me great feedback. Using the right tools for the best makeup really is key.

Review
Review
Review
Review
Review
Review
Mum and daughter, (Joint makeup lesson)
1-1 Makeup lesson
Review
Info about my brushes.
Review
Makeup lesson
Another happy client
Makeup lesson
My studio
Hannah - Group makeup lesson.
Mother of the Bride. Makeup by Tina Brocklebank.

This year I travelled to Ibiza for my 25th wedding anniversary. It was such a lovely holiday. See below my holiday essentials...

My holiday essentials.
Holiday skincare

Thank you for subscribing to my blog and following my work. Please let me know if you have any questions or looks that you would like me to create or have any skincare/makeup questions. Send emails to tina@tinabrocklebank.co.uk

And so, now is the time to wish you all a very Merry Christmas and a Happy and healthy New Year. Don't forget the 10% offer for any brush set, (if you spend over £150) expires on the 31st of December 2024! Gift vouchers are available to purchase via my Online store too. I look forward to seeing you hopefully next year.

Lots of love, Tina x

Phantom makeup mask by Tina Brocklebank.

Work update.

Thanks to everyone who entered my Mother's day competition over on Facebook - I read some really inspirational comments - but the winner is Lynda Mennell, who has won a makeup lesson with me to the value of £150.  The winner was chosen at random.

I have been really busy with makeup lessons and bridal makeup trials, however, I had a few days off recently and so as I had a spare morning I thought I would experiment a bit with a different look, (see Phantom makeup mask photo.)  This was inspired by Nikki tutorials, but I did add my own colours and a few other elements.  I love getting creative!

Bookings for weddings are being taken now in 2020 so please get in touch if you want to book me for your wedding, to avoid disappointment!  Make-up lessons are very popular too, so I am really enjoying working from my make-up studio.  Thank you for all of your support, kind comments and for following my work x

The beautiful Babs.

Make-up lesson loyalty scheme...

Thank you to everyone who has signed up for e-mails!

I promise not to bombard you constantly with emails! (I am aiming probably once a month but it will probably more like two months!)

I have a list of all who have subscribed so far.  I am calling this my Loyalty scheme.

This means they can then apply for a £30 discount for a make-up lesson! (usually priced at £150, so the lesson in total will be £120.)  This is for a limited period of time only and I only have a limited number of lessons I can offer for this promotion, so when they are gone, they are gone!

You can still subscribe to be eligible, but this offer will end on the 21st of December 2018.  Should you have a problem subscribing, please just fill in an enquiry form via my website, (under Contact me) or email me - tina@tinabrocklebank.co.uk with all of the details below -

Name, telephone number, address, a brief description of what makeup lesson you are after, (e.g, day makeup) and roughly when you would like the lesson, (don't worry if you don't know at this stage.)  I will send you my bank details to pay via BACS.

Once I have checked you have subscribed, you can then go on to pay your £120, (please remember to use your name as reference.)  I will email you to confirm.

Please note, this cannot be used towards any other service such as special occasion makeup or Bridal/wedding makeup.

Once you have paid, then you will need to contact me to arrange your lesson, this needs to be booked in before the 21st of December 2018.  This means the lesson has to be done no later than the 29th of March 2019.

If someone you know has been harping on about a lesson with me, then this is the time to buy it! (especially with Christmas only 4 months away, can you believe that!?)  If you would like this as a present, then I can send out one of my make-up lesson vouchers so they have it in time for then.

I have provided hundreds of lessons for ladies over the years, of all ages and ethniticies, teenagers to ladies in their 90's. I love helping people to not only look their best, but feel their best.

A 1 hour bespoke make-up lesson with me at my studio includes the following -

The lesson begins with a chat about what exactly you require from the session and what kind of makeup look you are after.  I can then adapt the lesson to your requirements and needs.  Your photo is then taken, (usually with your own make-up on).  Tina then discusses skincare and will advise on the best skincare for you and your make-up.  Skin prep is so important!

I then go through each step, from foundation to lipstick.  It is a really fun session and you can ask as many questions as you like throughout the lesson.

At the end of the lesson, your photo will be taken again with your make-up applied by me. You will also be given a personalised face chart and product list so you can go online and order anything you like that I have recommended or used.

I will then email you your before and after photograph together with your make-up procedure so you can practise your make-up at home.  (*Please note, there is no pressure to have your photo on social media and I respect your wishes if you decide not.)

I look forward to hearing from you! I have my make-up brushes and kit all ready and raring to go! x

Tina Brocklebank Make-up artist, studio.

Tina Brocklebank Make-up artist, studio.


GLOSSIER

GLOSSIER review.

This brand has been intriguing me for quite some time. There's been a bit of a buzz about it and the thing that drew me to want to try it was that it promoted a "less is more" approach to beauty, which as you probably know, I love. I think the whole industry actually needs a brand like this to shake up the whole drag queen look thing that is dictating at the moment, (even though, for me, Bobbi Brown started this movement in the late 90's and sadly since Bobbi left, the brand has not adhered to that...but moving on!!...)

Apparently it all began in 2010 on IntoTheGloss.com which is a very successful beauty blog with a loyal and influential readership and editors with a sixth-sense for what is relevant and what works. It was one of America's most popular beauty brands and has now taken the U.K by storm.

The philosophy was created by a group of Beauty editors that have literally tried everything and know what works. They have developed "the best formulations with real-life usage in mind and put them in the chicest packaging that won't cost you half a pay check. Beauty should be fun, easy, imperfect and personal."

I was excited to receive lots of Glossier products to try and dived right on in there! (with the help of my 18 year old daughter of course, who has been lusting over the products online for quite some time!)

Let me start with the packaging - modern, very chic and yes, recyclable.

I think the brand is aimed towards the younger market, teens and so on, or the lady who has great skin already and therefore, doesn't need much make-up or indeed someone who doesn't like to be seen to have an obvious face of make-up, as the textures are very sheer.

I wanted to compare how the products performed on both ages, (me being 48 and my daughter being 18.) I wanted to shake up my own make-up and was open to maybe weaning myself off my beloved, trusty Bobbi Brown make-up.

OK, lets start with Alisha, (my daughter's), make-up and skincare. Alisha has been suffering with acne for the past 2/3 years and we have tried literally everything and I am pleased to report that at the moment all is well skin wise. She is on the right medication and skincare, (Paula's choice). Both seem to be suiting her skin brilliantly at the moment. Her skin looks beautiful, and she is obviously therefore, more confident and happy...(phew!its been a while getting there.)

This is her skincare routine -
Paula's choice Clear pore normalising cleanser,(twice a day.) Clear regular strength 2% BHA exfoliant, (twice a day). Clear moisturiser SPF 30, (used before make-up.)

Alisha is now at the stage where she doesn't have to wear much make-up, and frankly, she has never been one of those girls who likes doing that, (I don't really understand why young girls feel they need to anyway, when they are young and if they have beautiful, young skin...why mask that?) Alisha did not want to upset her skin and is very particular about what she puts on her skin so decided not to try the Glossier concealer or skin tint. She has a very pale skin and is the lightest shade foundation from Bobbi Brown in Alabaster, which is what she used on this occasion with her usual NARS concealer in Chantilly. She only uses a tiny amount of each to even out her skin and cover any scarring.

I was honoured to be able to do the rest of her make-up for her! using the Glossier products, (she likes to do her own make-up usually and is a tough cookie to please!) I wanted to create an easy, natural, pretty, chic make-up look for her, just using purely my fingers. I started with her brows. Beautiful, natural and feathery already, (sob, sob!) I used Brown Boy brow. It comes with a great little brush applicator, perfect for getting those tiny little hairs and for styling brows. (There are 4 shades in total.) I sometimes mix the shades to create more definition and depth, if needed, (not on this occasion though.)

Eyes next and I was dying to use the Cloud paints! I chose the shade Beam. Now these are usually used for the cheeks but I used it on the eyes, cheeks and lips! I got great results. I just used my ring finger to apply all over the lid, above the crease and smudged away, very easy to work with and effortless. (I also applied a tad of the shade Dusk, just at the top edge of this and slightly in the crease of the lid, just for the hell of it.)

Next I used the Boy brow as a mascara - we had one in Black so I applied on the top and bottom lashes. Obviously it is formulated to give a little bit of oomph to brows, so not amazing thickness given on the lashes, but that was fine for the look we wanted.

I then used the Cloud paint on the apples of the cheeks in Dusk, (a to die for colour and worked with her skin tone beautifully.) The gel-cream texture just melted seamlessly into her skin. I used my ring finger again and blended out towards the hair line. Very easy to work with and a dream to use.

Next, I used the Haloscope highlighter straight from the bullet onto her skin, and blended with my finger. I used this high on the top of the cheekbones, under the arch of her brow and inner corner of eyes, down the bridge of the nose, above the cupids bow and a dot on her forehead. It created a natural, dewy highlight.

I then applied Cloud paint in Dusk on her lips and used a tiny amount of the Birthday balm to moisturise a bit and add sheen, (this actually smells like birthday cake, really gorgeous.) It also has little particles of shimmer in it too.

We were very impressed with the ease of application and effect given. We were a bit giddy to be honest...sad aren't we!

I then went onto to my make-up, which I knew from the off, (after doing Alisha's), that the products were not going to work hard enough for me. Obviously with me being that bit older and used to a bit more make-up. I need more definition and coverage...fact!

I used the following - Priming rich moisturiser. I have quite dry skin and love that dewy look, rather than matte. (However, I did apply my Bobbi Brown moisture balm SPF 25 on top as the Glossier moisturiser has no SPF, then used my Bobbi Brown Extra repair eye cream under my eyes.) There is a Glossier SPF available to buy, called Invisible shield, so you would apply this after moisturiser and before make-up, (I would loved to have tried this.) I have read reviews that suggest the ingredients do not cover full sun protection, but would love to know more...

I then used the Perfecting skin tint in Medium. It reminded me of MAC Face and body, but a much smaller bottle. However, it wasn't as pigmented but beautiful consistency. I needed more coverage than what it was offering. I also used the Stretch concealers in Medium on my skin and under my eyes, the shade light. Personally, because I like a bit more coverage under my eyes and on my skin, I was not a fan of these concealers and they did not last very well, I had to touch up with my usual concealers. I think they would be great for someone with younger skin though. (I did try a bit on Alisha in the shade light and it did last well and was a great shade for her.) I don't use powder on my face as I prefer that dewy look.

I then applied the Boy Brow in Brown. My brows are a bit more sparse, so I still had to fill in with my Anastasia Dip brow pomade.
I then used the shade Beam in Cloud paint on my eyes and blended. I like my definition along the top lash line so used my regular gel liner in Black for that together with my usual mascara.

Cheeks next - I used the Glossier Cloud paint in Haze which gives a beautiful, natural flush to the cheek, as without that flush, I look, well, dead to be frank! I then used the Haloscope highlighter in Topaz, (which is a bit warmer than the other 2.) I then used the Cloud paint in Dusk on my lips and finished with the Glossier Rose balm, which smells gorgeous.

Tina using GLOSSIER

Tina using GLOSSIER

All in all, we both loved the Glossier products, and I am definitely going to be adding some of the products to my kit. Great for clients who like that effortless, pared down, minimal look. Excellent value for money and very cool products. It's a yes from me, (but give me more coverage and longevity), and a YES from Alisha!

Available from www.glossier.com

Tina Brocklebank Make-up artist - Day make-up.

My day make-up products and routine...

I don't get a lot of time in the morning for make-up, but saying that, I do make it a priority. I can wake up feeling pretty crappy and frankly, looking it too! So the whole ritual of looking after my skin and applying make-up, for me, is a necessity and if I don't do it, I feel rubbish all day, not to mention look tired, and well, lets face it, ill!!

I like to start by cleansing my skin well and I am using Paula's choice Hydrating cleanser and I really am quite firm with the cleansing! I then like to splash it off with lots of really cold water. I then pat dry, allowing my skin to still be damp. I then use my faithful and trusty Bobbi Brown Extra repair moisturising balm, SPF 25. I love this product as I have really dry skin and using this makes it look fresher and a tad younger if anything else! a lovely glow is given, (which I badly need!) I then use the Bobbi Brown Extra repair eye cream, tapping it in lightly, under the eye area. I have really noticed a difference as I am getting older, (I am now 47). Fine lines and dark shadows are a bug-bear for me! grrrrr.....

Once this is done, (which takes about 5 minutes), I start my make-up.

Depending on how my skin looks and feels, (and how knackered I look!), I chose my foundation according to this.

On the photo, that particular morning I was looking my usual ill unmade up self, so I needed a bit more warmth in my skin, so I go one shade darker with my foundation/tinted moisturiser. Todays ammunition was the Charlotte Tilbury Healthy glow, I use this on top of the Bobbi Brown moisturiser. Its a strange product as when you squeeze the tube, it comes out light grey and then when you blend it into your skin, it morphs into your skin and transforms your skin into a warmer shade, but natural. This is suitable for men and women. (A great product, but no SPF.)

So, once I have a bit of a good base to work with, I then go to work with concealing any blemishes and uneven areas. I use Bobbi Brown Instant full cover concealer in the shade Sand. These concealers are the business! They stay on all day, do not budge and look very natural. I work this in with my fingers, just tapping lightly.

Next I go to work underneath my eye are, (not my favourite part of my face, as I have mentioned!!) I look tired and very dark under here...but I have my secret weapons! (thank goodness!)

I use the same Bobbi Brown Instant concealer but one shade lighter under here, (if I am particularly dark I will use a corrector too, my favourite is by BECCA in Peach.) I keep layering the concealer until as much darkness is gone...so it may take a few layers, but they need to be light. I use my ring finger to blend. Don't forget, this is the deepest part of your face, so naturally, it is going to look darker, (even though I don't remind myself of this!)

OK so next, I work on my brows. When I was in my early twenties, it was fashionable to have a very thin, almost Biba-type brow, (a trend worn by Kate Moss, and of course, I thought at the time, I could carry this look off. Looking back, I looked more like Barbara Cartland.) So to "plump" up my almost non-existent brows, I use Maybelline Brow precise fiber filler, (which is really a brow mascara, which helps to bulk up what hairs you do have there. A clever little product.) Go easy here, you don't want to end up looking Denis Healy. If there are any sparse areas I then use Anastasia Beverley Hills Dip brow pomade in Ash brown with a MyKitco My tiny liner 11 Pro brush. I use the tiniest amount of product and mimic little brow hairs, finishing with some Maybelline Brow drama gel through the brows to set and to add further texture.

Eyes are next - I use a cream product usually as a base, (its called a Primer nowadays.) I apply this with my finger and blend. This ensures longevity if I use a powder eyeshadow and makes sure it doesn't crease. I use Bobbi Brown Long wear cream eyeshadow in Sand dollar or Cream eyeshadow stick in Truffle, I take this right up to the brow.

Next I use my Charlotte Tilbury Instant look in a palette, (Beauty glow.) I use a mixture of the 2 darker eyeshadows and apply to the outer areas of the lid, above the crease and slightly under the eye area. I use a MAC 217 for this. I have seen as I have got older, I "need" more definition and colour. I never really used to wear eyeshadow.

Definition is next, so I use my Maybelline Lasting drama gel eyeliner in Black and I apply with my Maggie Hunt No7 angled brush, (amazing brushes by the way by the wonderful Maggie, who I aim to go and visit early next year.) I start in the middle of the eye first, (top lid), and push it right into the roots of the lashes and underneath, in the top waterline too. At the ends of my lids, I extend the line slightly, to elongate my eyes and to mimic slightly longer lashes at the ends. The line goes right into the inner corners too.

I use about 3 layers of Max Factor 2000 calorie mascara in Black, (curling first with a Kevyn Aucoin eyelash curler.) I always encourage more curl as the mascara is drying, by pushing up the lashes slightly with my sides of my finger!

A little bit of the Charlotte Tilbury highlight is dotted in the inner corners of the eyes and under my brow arches, (which is in the palette.)

To add a bit more warmth, if needed, I use Bobbi Brown Bronzing gel, (Joe Brown.) I am not sure if they are selling this anymore, as I have just checked on their website. But, its a great product. You just pat it on and blend well. I use it on my forehead and on the tops of cheekbones.

Blush is next. I like a dewy look, (more youthful!) so I use a cream product - I love either Bobbi Brown cream blush, (Fresh Melon is so natural!) or Make-up Forever HD cream blush in Flamingo Pink - 215. I only use a tiny amount on the apples of my cheeks and blend towards the outer part of my face.

I use a little bit of the highlighter from the Charlotte Tilbury palette, along the top of my cheekbones sometimes for more glow.

Lips - I always revert to a nude lip. If I go darker or brighter, I just don't feel like me! First I use a pencil all over the lips, (Charlotte Tilbury Lip cheat in Pillow talk or Bobbi Brown Beige.) I then use a lipstick over the top, my current favourite is by Charlotte Tilbury Hot lips, Kim K.W. However, I can't seem to get over Tom Ford Nude blush lipstick, its my absolute favourite. I then lightly define around the lips, in Charlotte Tilbury Lip cheat - Iconic nude.

...and that's me for the day! I can't say bright eyed and bushy tailed but I can say, ready for the day! Feeling, (and without a doubt, looking!!) a better version of myself.

The whole routine takes me about half an hour. Now I now a lot of ladies say, "half an hour?!!" like that's some sort of crime! but I always say; that is the only time you have to yourself the whole day, the only time you do something for yourself, so why not half an hour?! Get up a little bit earlier?! Maybe invest in yourself? Don't feel guilty about it!! We could all stay in bed a bit longer, and I always want to! But the if its a toss between extra minutes in bed and looking and feeling rubbish the whole day, or getting up earlier and looking and feeling ok all day, then you know which I choose! I certainly feel the rewards, and for me, that is what make-up and skincare are about, not just visual, but actually a little bit of therapy and self-love!

Thanks for reading my blog x x x

A very high brow history - The Lincoln Journal.

Eyebrows - "A very high brow history."

Here is my column from the October Lincoln Journal.

If you follow me on Facebook, you may have seen my post about the "Insta-brow", a look which I am not a fan of.

I have so many requests from Mum's of teenagers, and other ladies, who want a bit of clarity and guidance on this very internet-led trend of over-doing eyebrows.

Experimentation and the resulting trends are all well and good, but I am sorry to say, fuzzy felt is never a good look - actually I am not sorry at all.

Eyebrows are made up of lots of little hairs, some of us have more than others, buts lets get back to brows looking like brows please?!

The 90's have a lot to answer for, namely the complete destruction of our eyebrows - you can thank Kate Moss and crew for that.  Fast forward a couple of decades and brows are now the ultimate facial accessory.

But trends are not a new thing.  Cleopatra was the pioneer of the bold brow, while medieval ladies turned attention to their domed foreheads by plucking brows.  In the Elizabethan era many women dyed their brows with a red tone as a nod to Queen Elizabeth I.

The 1920's saw the needle thin trend.  Clara Bow's brows were plucked away and pencilled in thin and straight, extending beyond the corner of the eyes.  The 1930's were influenced by Greta Garbo and Jean Harlow - brows had pronounced arches for added drama.

During the 1940's brows became thicker and softer, think Grace Kelly and Lauren Bacall.  In the 1950's Elizabeth Taylor, Marilyn Monroe and Audrey Hepburn all had lush, immaculately shaped brows.  Sophia Loren shaved off her eyebrows during the 60's and then pencilled them in using short, thin strokes to create a bold but natural look.

The 1970's marked the return of the natural brow - Ali McGraw and Lauren Hutton were the brow role models.

In the 1980's Brooke Shields and Madonna lead the way with busy, natural brows.

The 1990's had brows of all shapes and sizes! Drew Barrymore sported the over-plucked look, as did Pamela Anderson.  Kristen McMenamy's career skyrocketed after she shaved off her brows.

Today, the bold brow is back, thanks to Cara Delevingne, we are opting for the more feathery, natural look, (and no fuzzy felt in sight.)  With out high brow history now complete, here's my guide to rehab your brows back from the brink...

Use a thin pencil/brow gel to draw on fine strokes of hair, (it is very important to choose a natural shade, look at your hair colour in the nape of your neck and don't be too heavy handed with your product.)

If you are using a gel apply with a Louise Young LY31 brush, its the best.  Finish with a brow gel that contains fibres so it looks like you have some natural texture there.

Try using my recommended products and techniques to achieve a natural look - Bobbi Brown eyeshadow in Grey - very natural and suits most people as it has a brown undertone.  Apply this with an eyebrow brush, finish with a brow gel.

Anastasia Beverley Hills Dipbrow pomade - apply with a Louise Young LY31 brush in light, feathery strokes to create eyebrow hairs.  Finish with Volumizing eyebrow fixer by Diego Dalla Palma, (available from Marks and Spencer.)

If you prefer a pencil try a MAC/NARS brow pencil, or make sure when you buy it is quite soft and not too dark for you, always opt for the lighter option.  Black should never be an option, even if you have black hair, it looks too harsh.


Make-up by Tina Brocklebank

Make-up lessons...

I work with so many lovely ladies and it really is an honour to be able to help someone look and feel their best, (yes, it sounds cheesy but I mean it!) Its such a confidence boost when not only do you look good, but you FEEL good! the 2 go hand in hand! I know all too well! If I don't wear any make-up, I do feel quite low! make-up is such a powerful tool and when used correctly, it can not only transform your face but your mood too!

Today I worked with Emma, a beautiful lady without make-up granted.  Emma wanted to be shown how to update her make-up, to use the right make-up and how to choose it.  I also took her out of her comfort zone a bit and played with different shades a bit...after all, make-up is there to experiment with!

Its all about making the best of what you have, playing up the good and not focusing on what you don't like - a bit like life in general really!

Here's Emma, looking beautiful before make-up and I believe, even more beautiful after...I think you will agree, she looks fresh, healthy, glowing, natural and more importantly, still like herself...

Please see my section on make-up lessons for information.

Gift vouchers available!

Red lips and leopard print

Red lips and leopard print...

With the gloomy weather surely there is light at the end of the tunnel? or in my case, my make-up bag?!  Dark days call for a bright pop of colour so I opted for my trusty MAC lip pencil in High energy today and wrapped up in my Topshop leopard print coat.  If you are going to be wearing a red lip, make sure you get rid of any redness first in your face, (especially around your mouth, nose and chin.)  I must admit, I am more of a nude lippie girl, but I so needed a colour boost, and I felt really nice with a bright lip, plus it stayed on such a long time, (I prepped my lips first with a bit of vaseline, then rolled over a cotton bud to remove any bits that the lipstick may stick to.)  Then applied a bit of carmex lip balm then applied the lip pencil all over the lips, then traced the pencil along the lip line, smiling, but it wasnt prestine.

I used minimal makeup for the rest of my face - I prepped with Emma Hardie moisturiser, then applied Bobbi Brown serum foundation and corrector, I then groomed my brows with an Anastasia Beverley Hills brow pencil, a bit of Louise Young eyeshadow in Chic and Max Factor 2000 calorie mascara.  I then used Cover FX bronzer and then Bobbi Brown shimmer brick and that was it.  A look really out of my comfort zone but perfect for an Autumn gloomy day! (coat from Topshop by the way.)

Follow me on Instagram for more make-up shenanigans!

Review for Tina Brocklebank Make-up artist

My make-up columns and make-up lessons...

I am very lucky to be a columnist for The Lincoln Journal and The Lincolnshire Journal magazines, (I also write columns for The Wedding Journal too.)

My most recent column in The Wedding Journal is talking about why you should book a Pro make-up artist on your wedding day.  Here's a snippet, "Weddings are a time of celebration and happiness and I am always honoured to be a part of someones' special day.  When choosing a Make-up artist, you can't beat a first hand recommendation or review.  Ask around and check out their social media accounts and portfolio too.  See how long they have been in the industry for, (I sang in the bathroom last night, it doesn't make me a singer, if you know what I mean.)  Getting your make-up applied professionally is a luxury, but with all things luxury there is a cost associated with it.  Yes, you could do your make-up yourself or get your friend, but would it look the same? and do you need that stress on your wedding day?  Price wise, a Pro make-up artist will charge what they are worth.  You are not just paying for their expertise, experience or application, but upkeep of their kit, time, travel, cleaning and sanitising their kit, answering e-mails, etc, etc.  Make-up artists work so hard, in and out of hours.  Basically, you do get what you pay for.  When you have chosen your make-up artist, book them...fast! A reputable make-up artist has a packed schedule and while that says great things about them and their work, it means you have to get a contract in place, (a professional will already have this in place as standard.)  I don't recommend not having a trial before the wedding day, and actually, I don't take Brides on without this anyway, it is far too important.  Not only should the makeup artist be amazing at make-up but you need someone who is going to be reliable, professional, keep you calm and also works well under pressure, you also need to have a good rapport with them.  I have lost count of the number of times I have given reassuring hugs, passed a tissue and wiped tears, or poured a glass of champers to a nervous Bride...but its all part of the job.  Make sure you wear waterproof products for obvious reasons! You don't want to have panda eyes or streaks ruining your look!  Lastly, embrace the whole experience of having a professional apply your make-up for you.  It is a most enjoyable experience and one which you will remember for the rest of your life."

My October Lincolnshire Journal "Tina Brocklebank Make-up artist knows good make-up..." talks about dark under eye circles, (something which I have myself.)  Products I recommend are a good eye cream, Bobbi Brown corrector and concealer, Laura Mercier secret camouflage palette, Louise Young cosmetics, Barry M concealers, Amazing Cosmetics concealers, YSL Touche Eclat, a Beauty Blender, Chanel powder, (if required) and Lancome Effacernes concealer.

There is no denying, that make-up can be our best friend, if applied correctly and use the correct products.  Make-up can enhance us and also play down the areas that we are not so comfortable with.  Don't be afraid of experimenting a little and investing in yourself.  Make-up is such a useful tool and a skill for life!  (I have been working with lots of lovely ladies recently, on make-up lessons, all ages.)  It always brings me such pleasure and is a real buzz when I make that person happy, just by applying a little bit of make-up, it can really boost someones' confidence and well being.  Make-up, to me, is so much more than applying it, it has such a positive effect on a person.  It really can make all the difference to your day.  Heres a few examples of some make-up lessons and reviews too...

Booking

Lila Doe

+123 456789111

Aenean ut nisl nunc. Proin maximus, lectus a rhoncus eleifend, ipsum dui efficitur enim, vitae egestas diam felis non lacus. Nullam semper lectus massa.

Gina Copper

+123 456789222

Aenean ut nisl nunc. Proin maximus, lectus a rhoncus eleifend, ipsum dui efficitur enim, vitae egestas diam felis non lacus. Nullam semper lectus massa.

Address

178 S 1st St, Brooklyn 277
NY 11211

Phone Number